Custom Workflows in SpecKit Companion
- Published on
You might think SpecKit Companion only works with GitHub's spec-kit. It doesn't. Spec-driven development is exploding right now — there are dozens of workflows and methodologies emerging across the community — and SpecKit Companion can work with any of them.
One that caught my attention is Gentle AI by Gentleman Programming. It's an ecosystem configurator that transforms AI coding agents into comprehensive development systems. It takes a different approach to SDD: instead of one AI doing everything, it delegates to specialized sub-agents for each phase — explore, specify, design, implement, verify. One command sets up the entire workflow, and it pairs perfectly with SpecKit Companion's visual interface.
Let me show you how to set it up and run through a quick feature build.
What Are Custom Workflows?
By default, SpecKit Companion uses GitHub spec-kit's commands — speckit.specify, speckit.plan, speckit.tasks, speckit.implement. A custom workflow lets you swap those out for commands from a different SDD methodology.
You define the steps, the commands they run, and the files they produce. SpecKit Companion handles the rest — sidebar navigation, phase tracking, progress indicators — all working with your workflow instead of the default.
Setting Up Gentle AI
Before configuring the custom workflow, you need to install Gentle AI. Run gentle-ai install in the terminal — the interactive TUI lets you select your agent (Claude Code, Cursor, etc.) and components (SDD, Engram memory, skills). This bootstraps the SDD commands and file structure in your project.
Once initialized, you need to add the SpecKit Companion configuration to .vscode/settings.json — Gentle AI doesn't do this for you. Here's what the workflow configuration looks like:
// 📃 .vscode/settings.json
{
  "speckit.customWorkflows": [
    {
      "name": "gentle-ai",
      "displayName": "Gentle AI (SDD)",
      "description": "Multi-agent SDD workflow using gentle-ai",
      "steps": [
        {
          "name": "specify",
          "label": "Spec",
          "command": "sdd-spec",
          "file": "spec.md",
          "subDir": "specs"
        },
        {
          "name": "plan",
          "label": "Design",
          "command": "sdd-design",
          "file": "design.md",
          "includeRelatedDocs": true
        },
        {
          "name": "tasks",
          "label": "Tasks",
          "command": "sdd-tasks",
          "file": "tasks.md"
        }
      ]
    }
  ],
  "speckit.defaultWorkflow": "gentle-ai",
  "speckit.specDirectories": ["specs", "openspec/changes/*", "openspec/changes/archive/*"],
  "speckit.customCommands": [
    {
      "name": "verify",
      "title": "Verify",
      "command": "/sdd-verify",
      "step": "tasks",
      "tooltip": "Validate implementation matches specs"
    },
    {
      "name": "archive",
      "title": "Archive",
      "command": "/sdd-archive",
      "step": "tasks",
      "tooltip": "Archive completed change"
    }
  ]
}
The customCommands section adds Verify and Archive buttons to the Tasks phase — these aren't workflow steps, but actions you can trigger once implementation is done. Verify validates that the code matches the specs, and Archive moves the completed change to the archive directory.
Notice the labels are different from the default workflow — Spec, Design, Tasks instead of Specify, Plan, Tasks. SpecKit Companion adapts to whatever naming your workflow uses.
Running Through the Workflow
To test this out, I'll add a header navigation bar to an empty Angular app — a quick demo to show the full cycle.
Creating the Spec
Click the "+" button in the SpecKit Companion sidebar and you'll see a workflow selector — the default GitHub spec-kit workflow and Gentle AI are both available. Select Gentle AI (SDD).
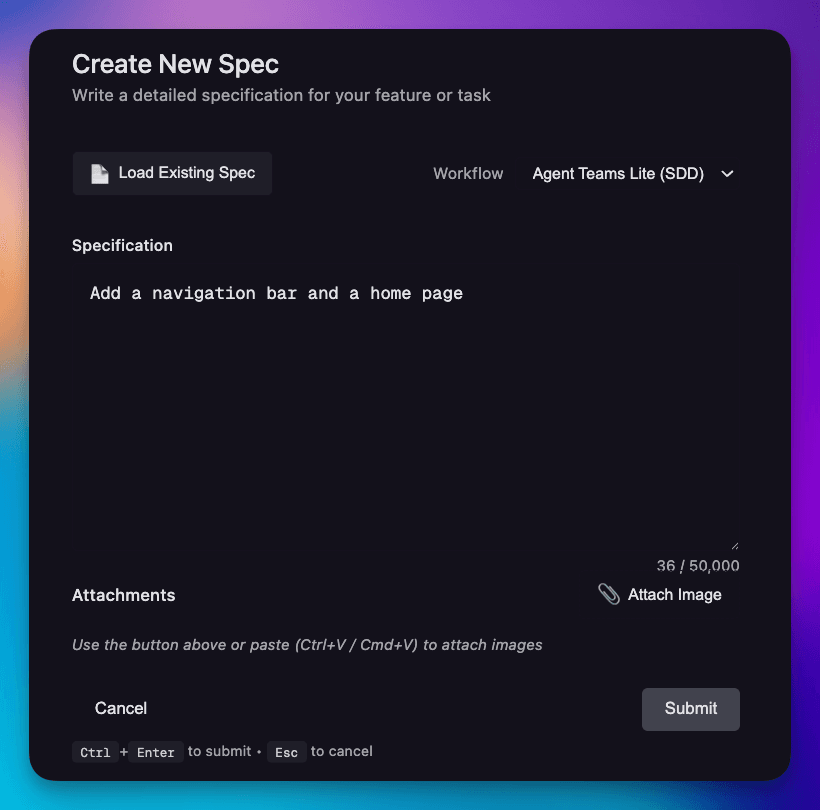
Describe what you want to build, select the workflow that we just added, add any images that can give more context and hit submit. The sdd-spec command runs and generates the specification.
Once you click submit, the terminal opens with a command like:
/sdd-spec Add a navigation bar and a home page
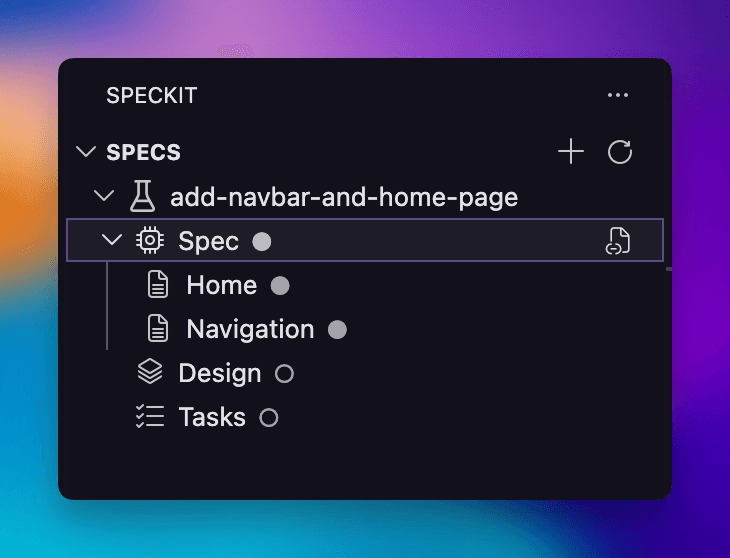
Gentle AI creates two specs — one for each feature (the navbar and the home page). You can see both listed in the SpecKit Companion sidebar.
Spec → Design → Tasks
From here, the experience is the same visual flow you're used to — but with Gentle AI's three phases:
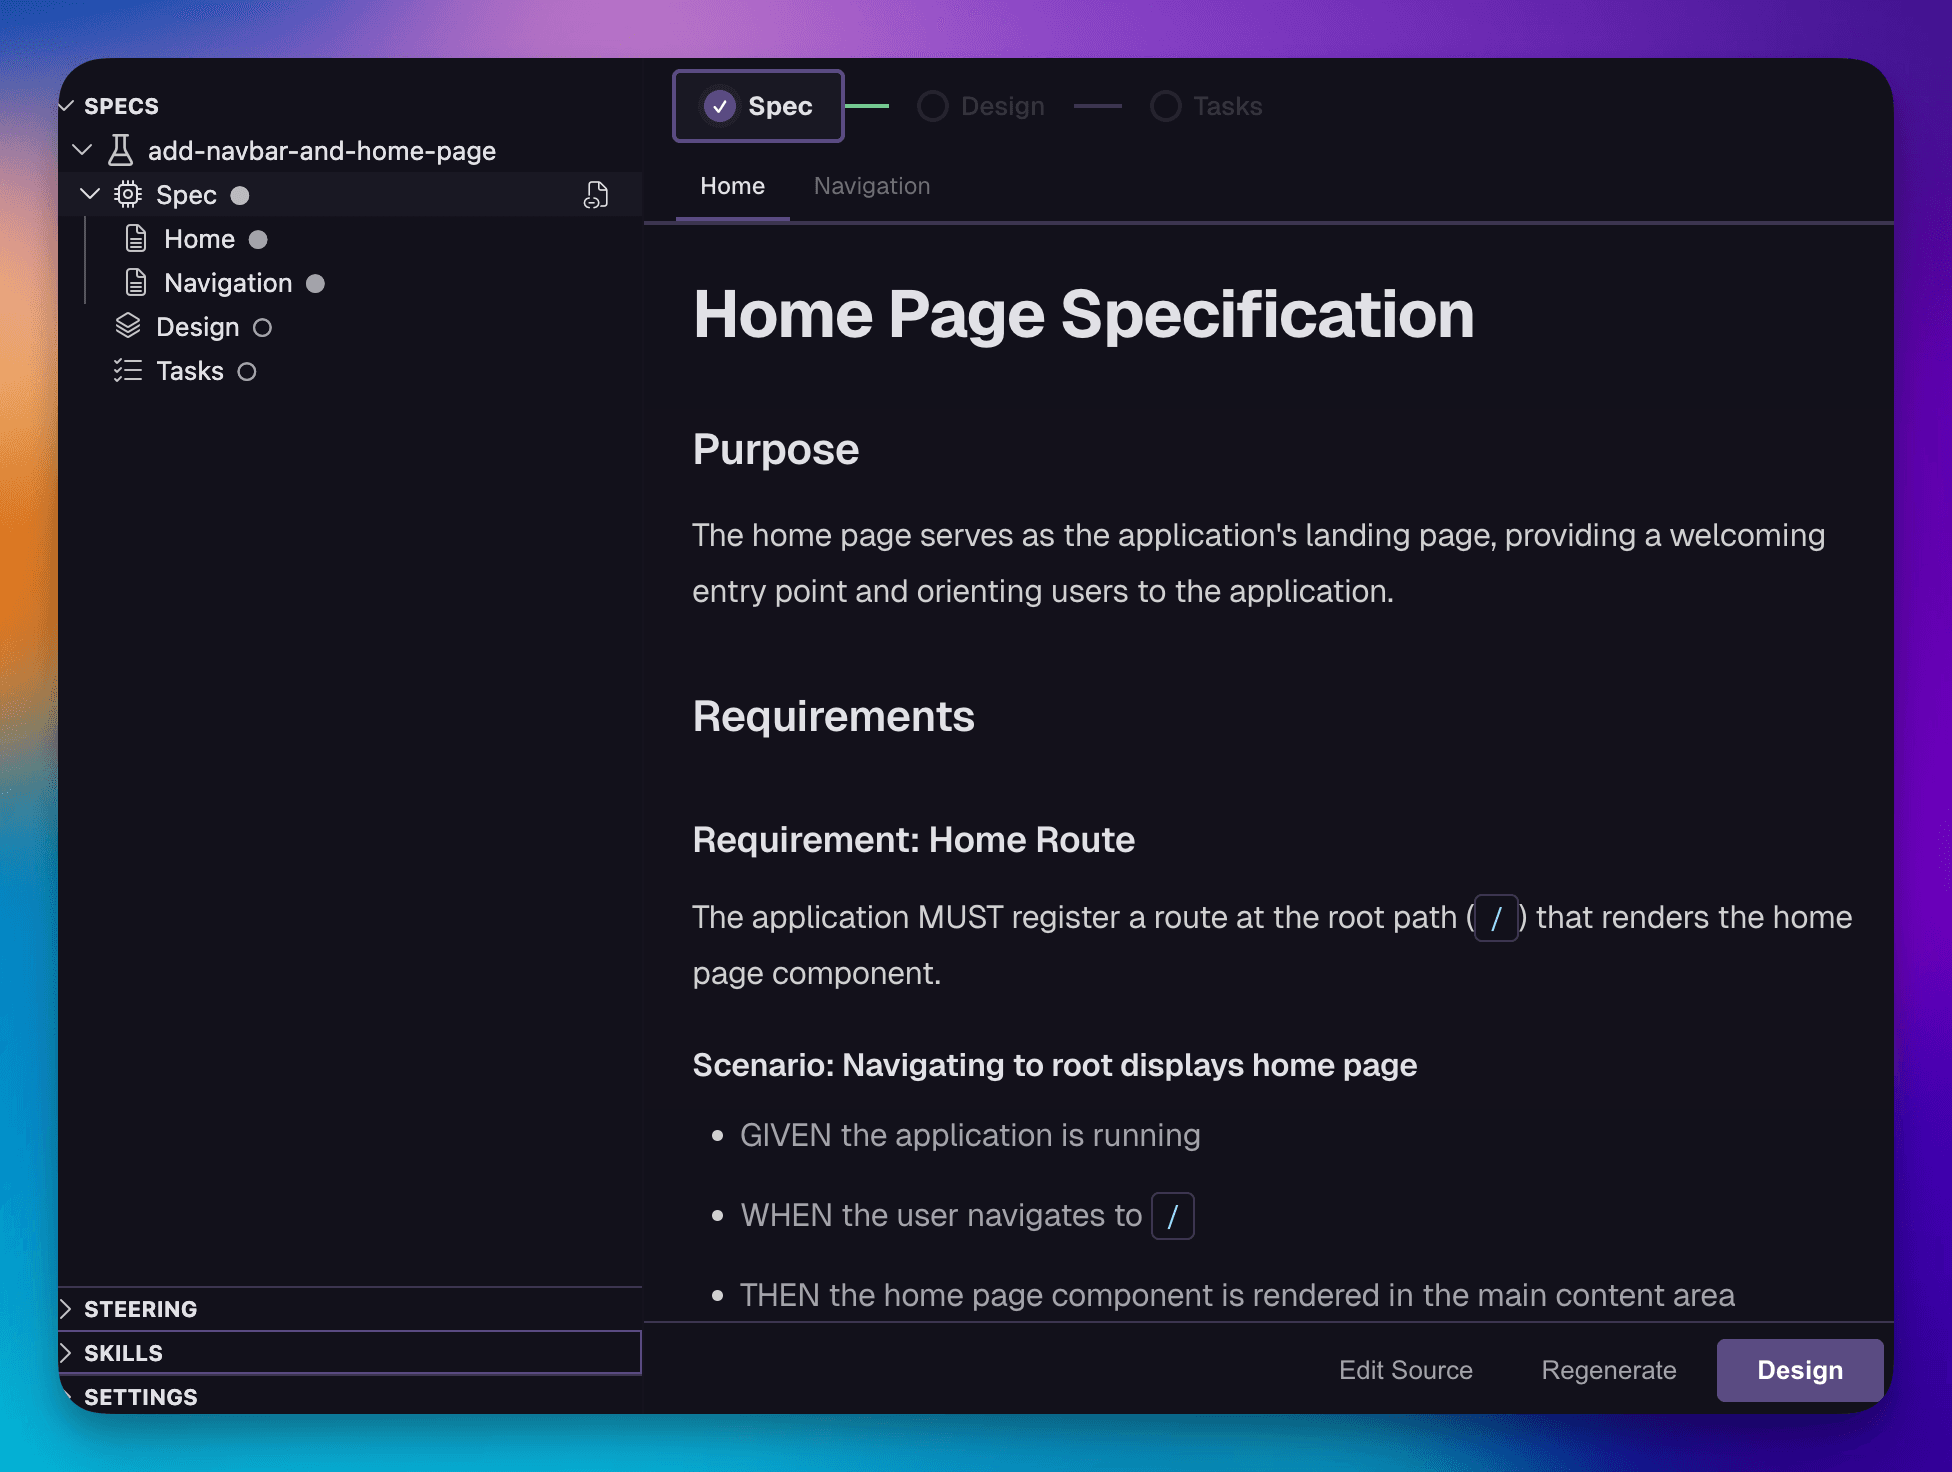
Spec — The specification defines what we're building. In Gentle AI, this follows their Given/When/Then scenario format with one spec per feature. The sidebar shows all the specs created under this change.
Notice the subDir setting in the config — this tells SpecKit Companion that specs live in their own subfolder, which is how both specs get grouped under the same change:
// 👇 Specs get their own subfolder
{
  "name": "specify",
  "label": "Spec",
  "command": "sdd-spec",
  "file": "spec.md",
  "subDir": "specs"
}
Click the Design button at the bottom to move to the next phase. This executes a command like /sdd-design <change-path> in the terminal.
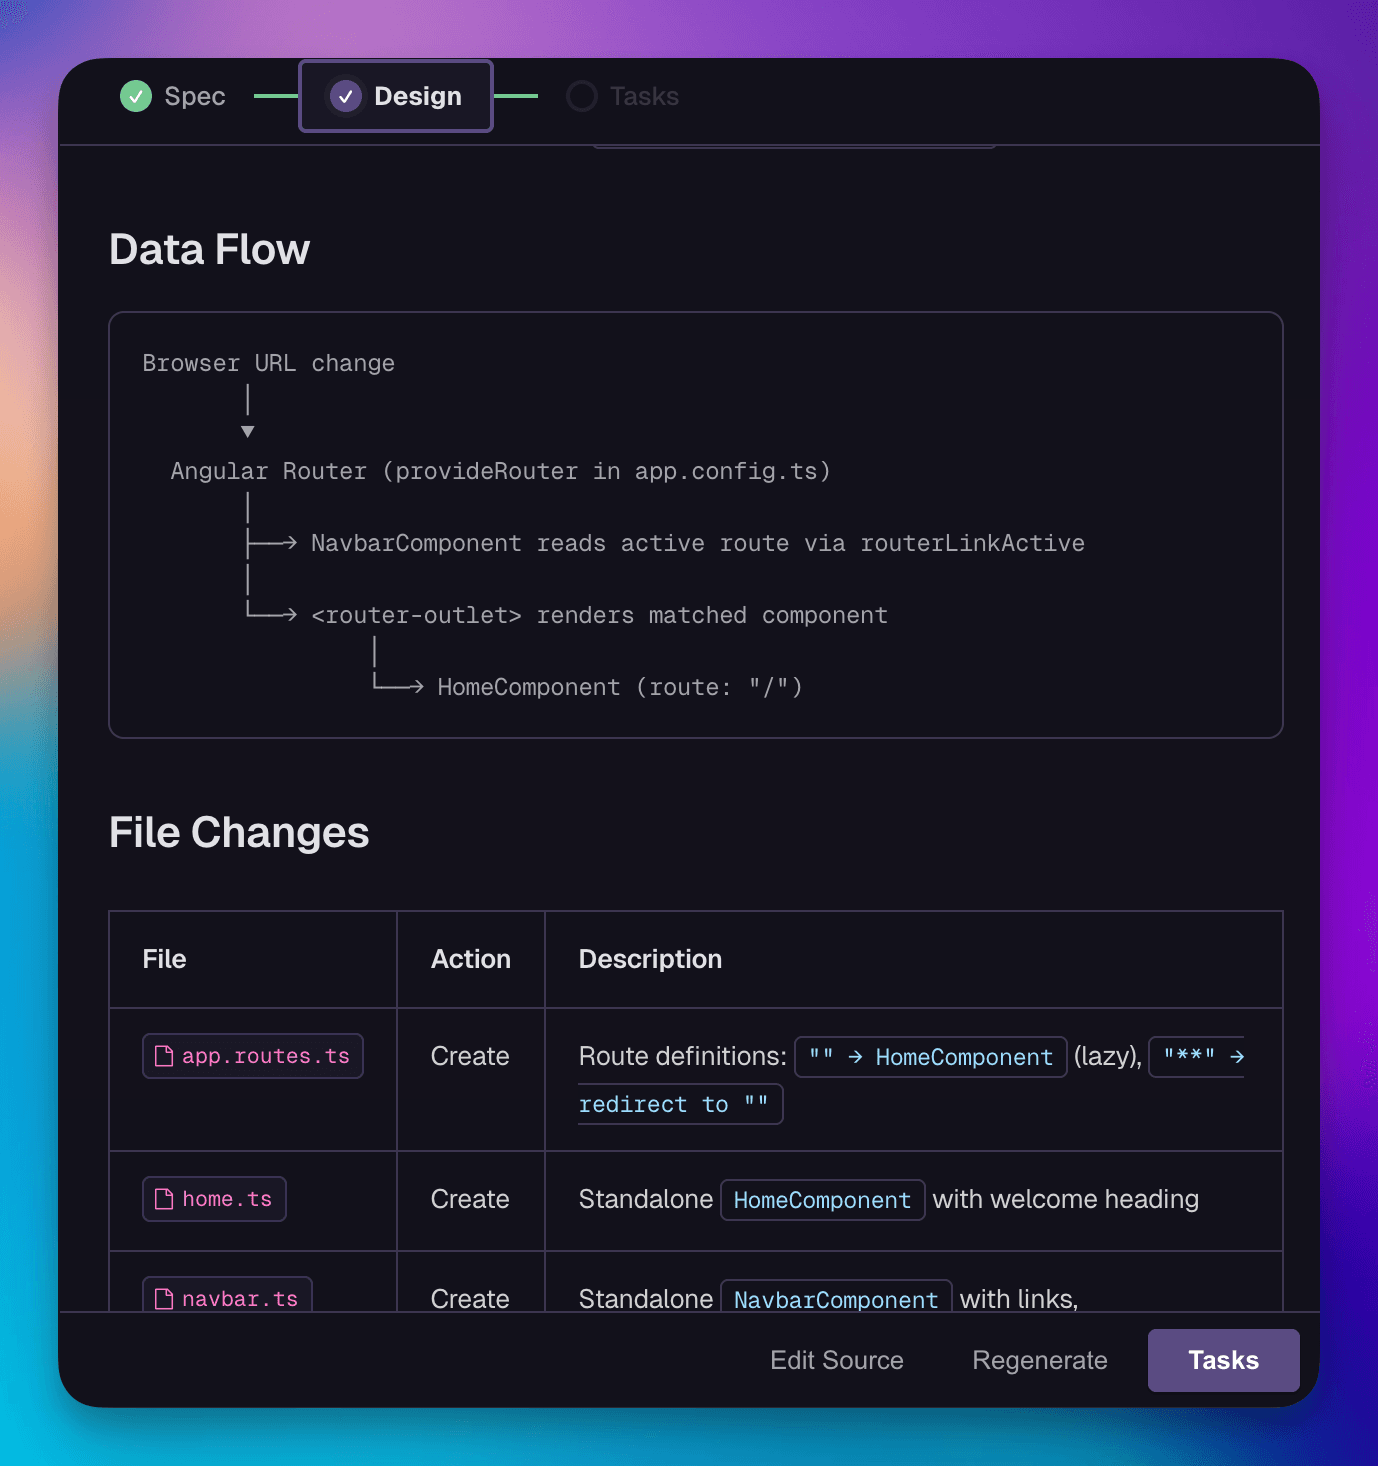
Design — Instead of a single plan file, Gentle AI generates a design document with architecture decisions and rationale. The includeRelatedDocs flag tells SpecKit Companion to display related files (like the spec files from the previous step) in an expandable sub-tree, giving you context without leaving the Design phase:
// 👇 Shows spec files as context in a sub-tree
{
  "name": "plan",
  "label": "Design",
  "command": "sdd-design",
  "file": "design.md",
  "includeRelatedDocs": true
}
Click the Tasks button at the bottom to move to the final phase. This runs /sdd-tasks <change-path> and creates the implementation tasks for both specifications.
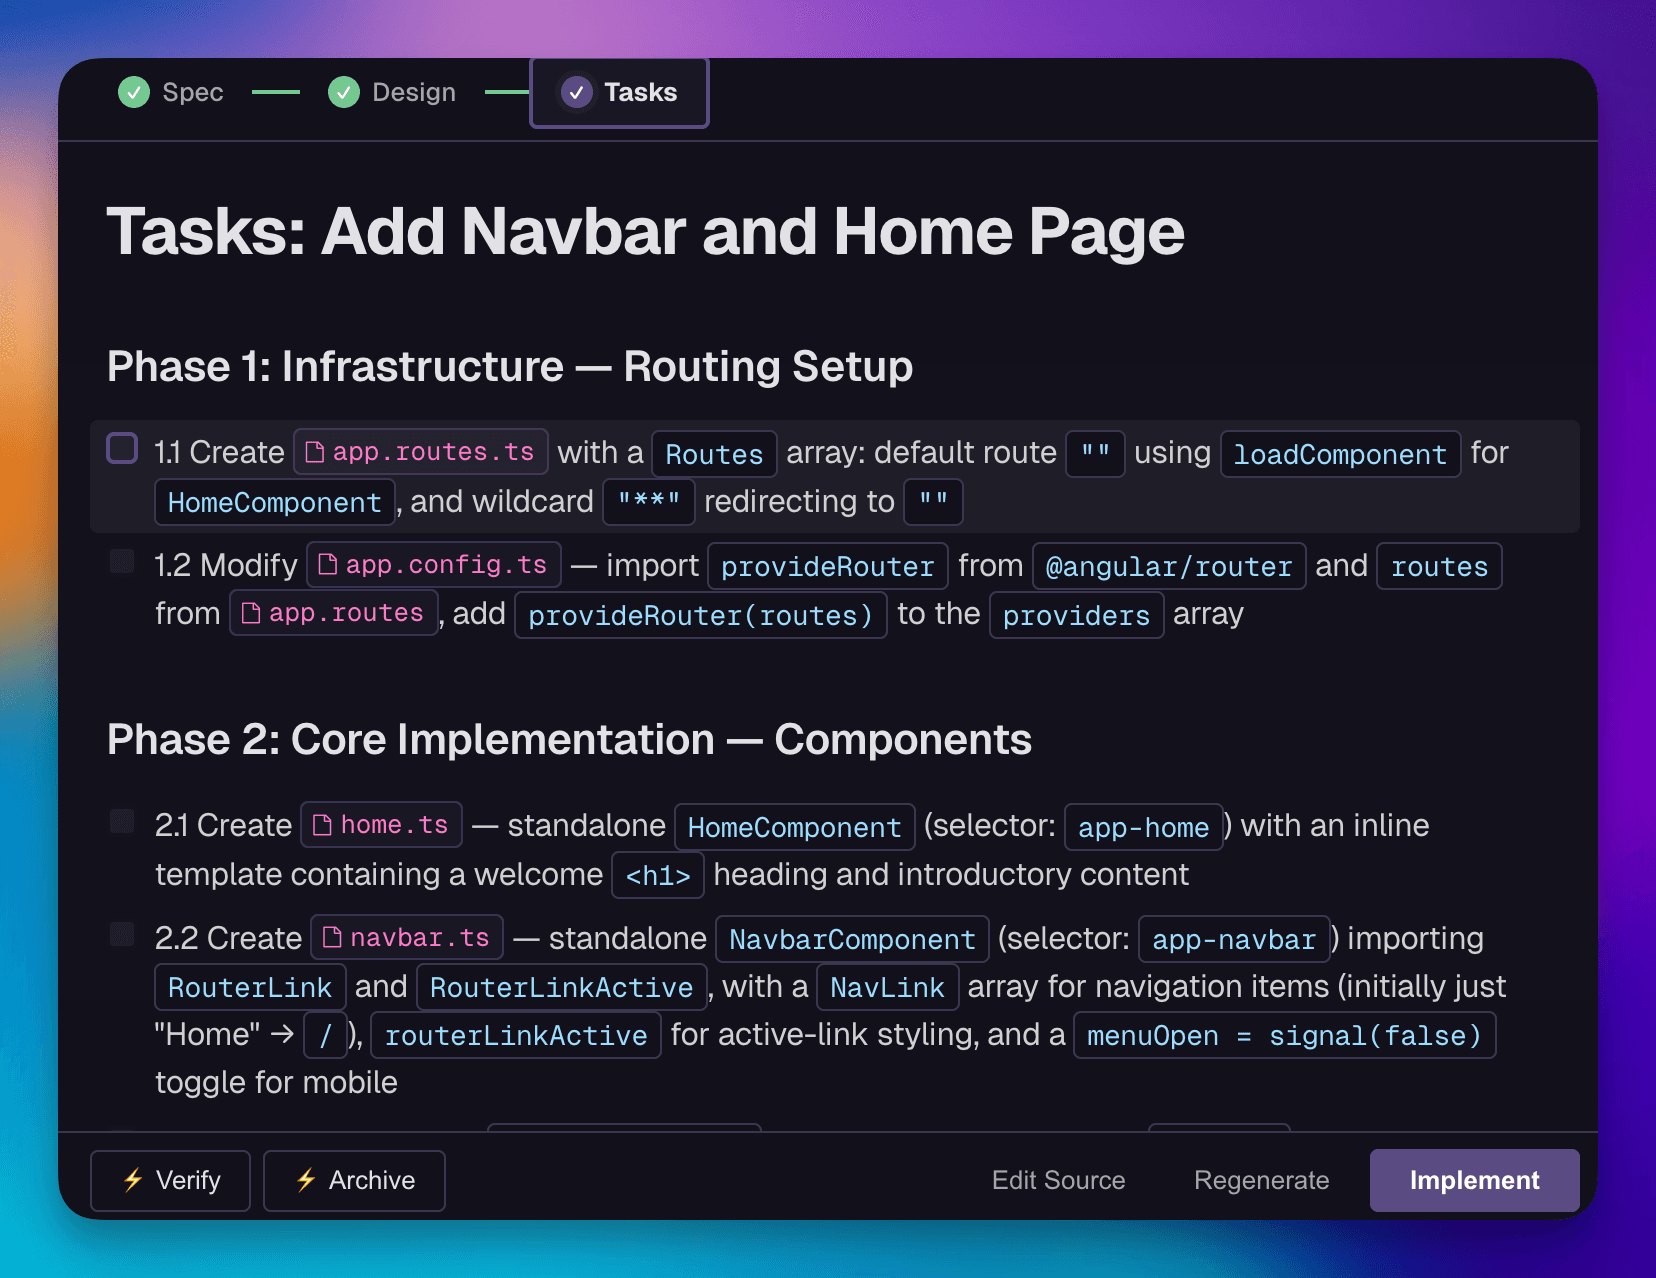
Tasks — The implementation breakdown. Each task is phased and ordered. You'll also see Verify and Archive buttons — these are custom commands, not workflow steps. Once you implement the tasks with sdd-apply, use them to validate and archive the completed spec.
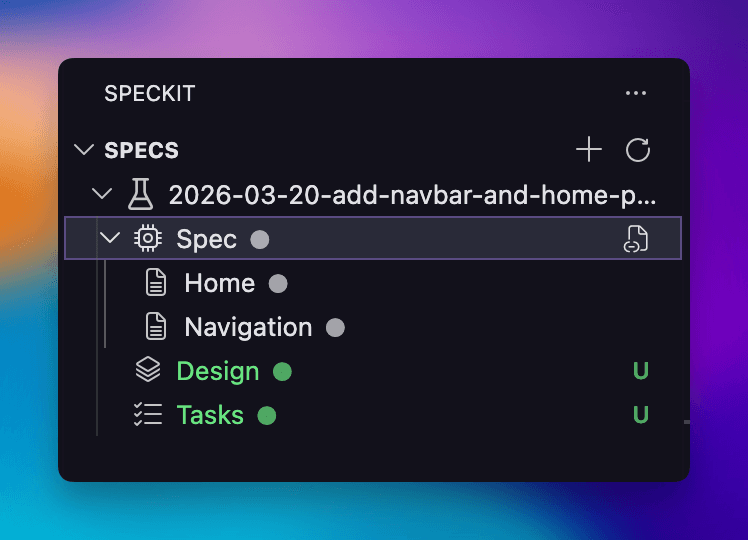
Once all tasks are done, the top navigation bar shows an indicator that the spec is completed. From here you can either verify or archive. In our case, we'll go directly to archive.

The progress bar at the top tracks you through all three phases, and when the last one completes, the spec is marked as done — same visual feedback, different workflow underneath.
Archiving with Custom Commands
Let's try the Archive button — this is a custom command we defined in settings.json, not a workflow step. Clicking it runs /sdd-archive and moves the completed change to the openspec/changes/archive/ directory.
Two settings work together here. The custom command adds the button to the Tasks phase:
// 👇 Adds Archive button to the Tasks step
{
  "name": "archive",
  "title": "Archive",
  "command": "/sdd-archive",
  "step": "tasks",
  "tooltip": "Archive completed change"
}
And the specDirectories setting keeps archived specs visible in the sidebar:
// 👇 Archive folder included so past specs stay browsable
"speckit.specDirectories": [
  "specs",
  "openspec/changes/*",
  "openspec/changes/archive/*"
]
The archived spec doesn't disappear — you can browse past changes without digging through folders.
When to Use Custom Workflows
Two main use cases:
1. Try another existing SDD workflow. Gentle AI is just one example. Any methodology that uses commands and produces markdown files can be plugged into SpecKit Companion. Found a workflow you like on GitHub? Configure it in settings.json and you have a visual interface for it immediately.
2. Create your own workflow for your team. Maybe you don't like how speckit.plan works — you want something leaner. Or more sophisticated. Or you want to add a review step between plan and tasks. Custom workflows let you define exactly the phases and commands your team needs.
We'll dig deep into option 2 in the next article.
What's Next
Now that you know SpecKit Companion works with any SDD workflow, the next question is: what if none of the existing ones are exactly what you need? In the next article, we'll walk through stripping spec-driven development down to a lean 3-step pipeline tailored to your project.
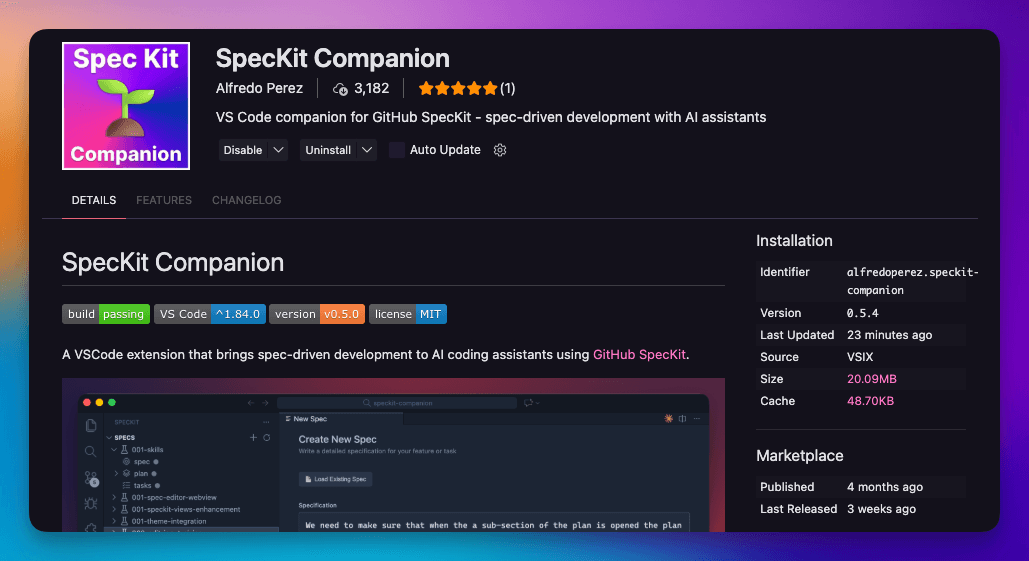
Give it a try — install SpecKit Companion from the VS Code Marketplace and plug in the SDD workflow that fits your team.